
Welcome to the AirBeam for iOS Online Help
AirBeam streams live audio and video from the cameras of iPhones, iPods, iPads and Mac computers. You can watch the stream remotely in a browser or with another instance of the AirBeam app.
Select one of the links to jump directly to a specific help section.
Monitor Mode
Camera Mode
Media Library
Settings
Monitor Mode
Monitor-Mode is the default mode when you start AirBeam for the first time. When you already switched to camera mode, you can return to monitor mode by tapping the ‚Monitor‘ button in the bottom left corner of your screen. In monitor mode, AirBeam uses Apple-Bonjour technology to search the local network for active AirBeam-cameras. While searching, the scanning animation is shown. Alternatively you can connect a camera manually by address and port number. To do so use the „+“ button in the lower right corner of the monitor window.
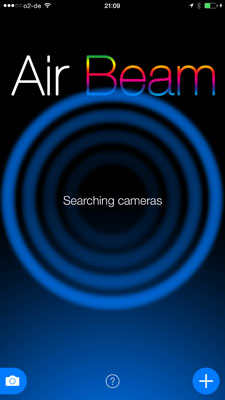
Screenshot 1: Monitor Mode searching for cameras
For each camera found, a thumbnail image is shown with a preview of the current camera image. The text at the bottom of the preview image shows the camera’s device name. The preview image is updated once a second. If more cameras are discovered than fitting into the AirBeam window, the previews can be scrolled up and down.

Screenshot 2 (iPad landscape): Previews for all discovered cameras
To watch the camera in real-time and listen to the audio, click the thumbnail image and a monitor window for the camera will open. The monitor window shows the live stream from the camera and starts audio playback when activated on the camera. Several buttons are available to control the camera remotely:
- The green button on the bottom left remotely opens the media library on the camera devices. Images and videos stored on the camera device can be previewed and managed.
- The middle buttons on the bottom control recording. The left one starts a video recording, the middle one takes a still image and the right one starts a motion controlled recording.
- The microphone on the bottom right activates two way audio. If enabled, it is possible to talk remotely through the camera device.
- Motion detection indicator and threshold slider on the top. Press the button to turn motion detection on/off.
- Audio detection indicator and threshold slider on the top. Press the button to turn audio detection on/off.
- The gear button on the top right opens the settings for the camera device. With this you can remotely adjust most of the settings such as switching the camera, changing resolution, etc.
- The battery indicator in the top right corner shows the charging status of the camera.

Screenshot 3: Monitor view to follow and control the camera
On iPads AirBeam supports a split screen mode, which can be activated via the toolbar on the top. Up to four cameras can be watched simultaneously. To change a camera in a pane of the split view, ‚long-tap‘ the pane and then choose the camera you want to watch.
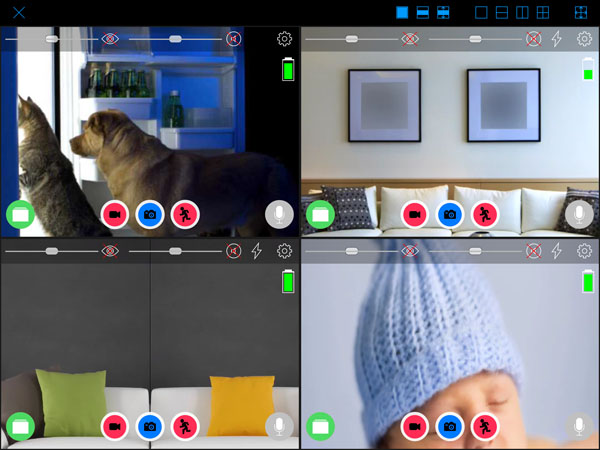
Screenshot 4: Split-screen monitor on iPad
Camera Mode
Camera Mode is activated by choosing the ‚Camera‘ button on the bottom right of the monitor view. As soon as the camera is started it can be discovered by other AirBeam instances on the same local network. The camera view looks quite similar to the monitor view. Several buttons are available to control the local camera of the device:
- The blue button on the bottom left opens the local media library of the device. Images and videos stored locally can be previewed and managed.
- The buttons on the bottom of the screen are the recording controls. The left button starts a video recording, the right button starts a motion controlled recording and the middle button captures a photo.
- The button on the bottom right switches to monitor mode. The camera will continue to run.
- The slider on the top left indicates the current motion level and can be used to adjust the threshold for motion detection. You can turn motion detection on/off by pressing the button next to the slider.
- The slider on the top right indicates the current audio level and can be used to adjust the threshold for audio detection. You can turn audio detection on/off by pressing the button next to the slider.
- The gear button on the top right opens the detailed settings for the device. See the section ‚Settings‘ for more details.
- The green text on the top shows the URL for browser access to the camera. Enter this URL into a browser on the same local network and you will be able to watch and control the camera with your browser.

Screenshot 4: Camera Mode
Media Library
The Media Library is opened by choosing the ‚Media‘ button on the bottom left of the camera view. The media library can be used to preview and manage your local recordings. Videos and still images are shown as small thumbnails in a grid view. To watch a video or image in full size, just tap on the thumbnail. To delete or mail items, choose the button in the lower right corner.
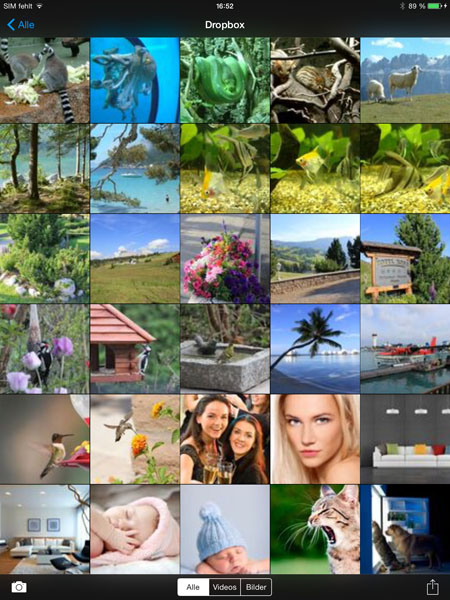
Screenshot 5: Recordings View
Settings
You open the settings view by selecting the ‚Gear‘ button in the top right corner of the camera view. The preferences window contains several sub-views to configure all detailed settings of AirBeam.

Main settings view
- General: Contains general app setting such as password protection and screen dimming.
- Camera: Contains the camera settings such as resolution, frame rate, timestamps, autofocus, etc.
- Detection: Contains detailed settings for the detection recording such as trigger delay, pre- and post recording time.
- Recording: Settings to adjust where recordings are stored.
- Streaming: Controls to adjust the quality of the audio and video stream.
- Monitor: All setting that apply to the monitor mode, for example how alarms are notified.
- Galileo: Shows status if you have connected your device to a Motrr Galileo robotic motion platform for remote pan and tilt.